
In our previous article in this series, we examined how to create an email template within Zoho CRM for consistent and quick communication. In this article, we will examine how to use merge fields to personalize email templates.
In sales and marketing communications, personalization is the processes of leveraging information you have in your database to create content that feels more relevant and personal to each prospect or customer. Different email strategies, such as using a personalized subject line, will increase the likelihood that your email will stand out and be opened. The increased interaction created by personalization helps in relationship-building, and ultimately, sales generation.
In Zoho, merge fields, or merge tags, are used to display recipient-specific information in an email, such as first name, product preferences, company name, or location. An email template that uses merge tags allows you to send mass emails that still feel handcrafted and unique. Merge tags can be used anywhere in a template where recipient-specific information is desired.
Add Merge Fields to an Email Template
- Begin by opening the template you wish to edit. Review this article for information on creating an email template in Zoho.
- Merge fields can be placed in text blocks as well as the subject line. In any of these text-based areas, typing the “#” character will bring up the field selector dropdown. The editor provides a dropdown list to suggest possible fields you may wish to use.
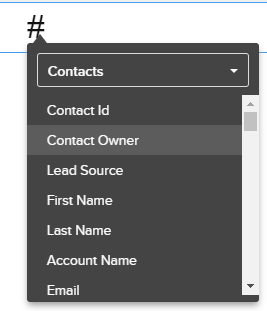
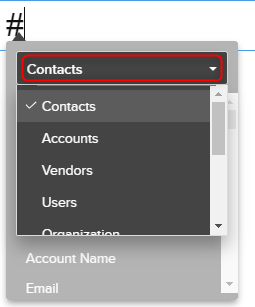
- By default, you can choose fields from the module that the template targets. If you wish to use details from a related module, such as the account related to the recipient, you can toggle the top dropdown to show fields from a related module.
- Once the desired field is selected, Zoho CRM’s editor will automatically convert the “#” into a merge field tag.
![]()
Additional Ways to use Merge Tags
Merge fields can also be used to display text on buttons and the alternative text for images used in your template. Personalizing a call to action on a button will increase the chances the recipient will engage and click.
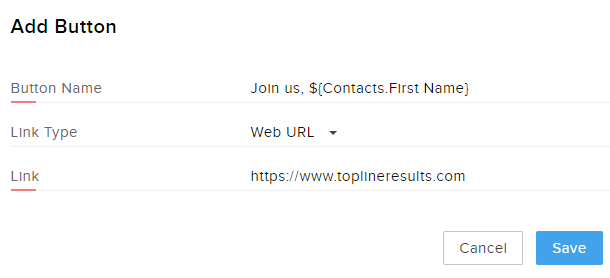
To add a merge field to these elements, created the merge field tag in a text area as outlined above and copy the tag code – ${Contacts.First Name} – and paste it into the button or image text. (For button and image text, typing the “#” character will not bring up the tag selector as shown for text block or subject line elements above.)
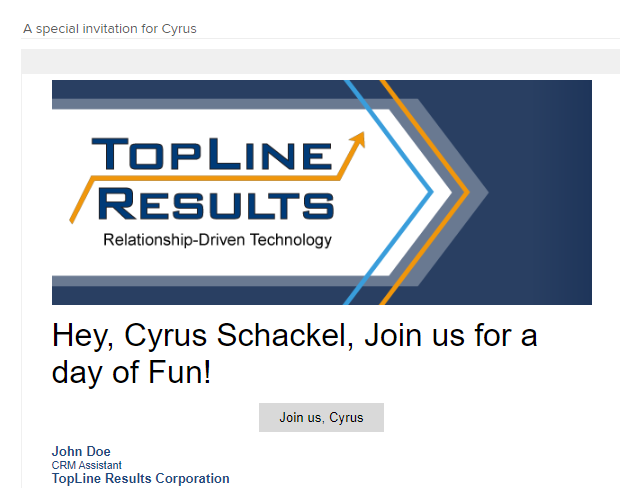
For instance, you may wish to add a contact’s first name to an event registration button to create a more personal invitation:
When your contacts opens their emails, they will see a button with their name:
![]()
It is worth noting that merge details will not render in the email preview screen, or when using the “Send Test Mail” option in the template editor. We recommend you verify that merge tags will display as desired by sending a message to a test record you have created in Zoho just for this purpose. You will want to create a lead or contact record with your information: your email address and any relevant merge fields you plan to use.
Final Results
When applying merge fields, a template that looks like this:
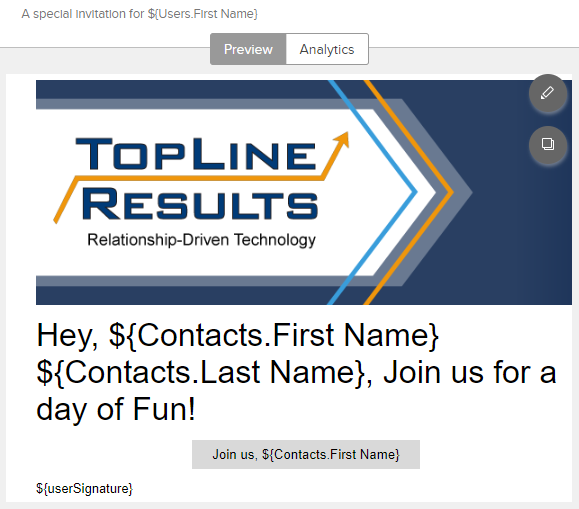
Will deliver an email with a personalized subject line, headline, call to action, and signature line.
Using merge tags in your email templates will save you and your team time in creating emails that have a “personal feel” that lets your customers know you value them. Curious how to better leverage your marketing tools to create personalized and engaging messages? Let us know how we can help. Call 1-800-880-1960 or send us a message.
You must be logged in to post a comment.