Notes are an essential part of business. They help us keep track of new information, decisions made, conversations had, plans and changes to those plans. They also help us store information for reference, like when learning about a new product. They can be checklists or long paragraphs. They can provide tons of detail or simply include bullet points to jog our memory. Some new AI tools take notes for us, but there are times when we need to take them ourselves. After all, someone once said that writing something down is like repeating it 11 times!
Regardless of the reason you are taking notes, and whether you have some AI assistance, there are great tools out there to assist. One of them is Microsoft OneNote. In this article, we'll examine Microsoft OneNote and how to use its notebook structure, templates, and page customizations for effective notetaking.
Notebook Structure
OneNote has many options for breaking down your notes, even before adding them. The structure of a notebook goes like this:
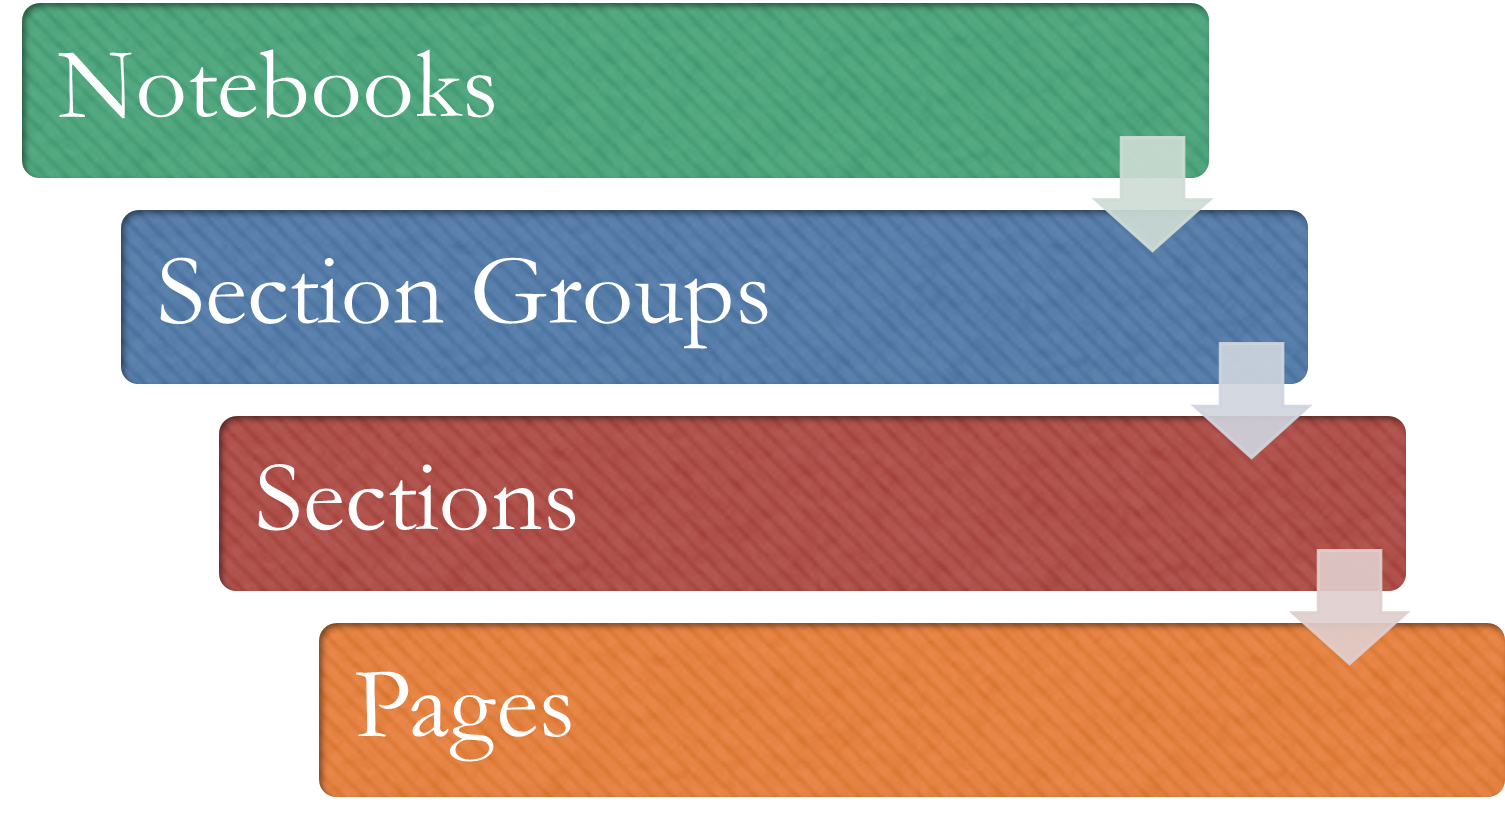
Notebooks let you group information you can share with other users. Each notebook has its own set of sharing permissions. Notebooks have Sections and Section Groups. Each Section Group has a set of Sections, and each Section has a set of Pages. Pages are where you take notes.
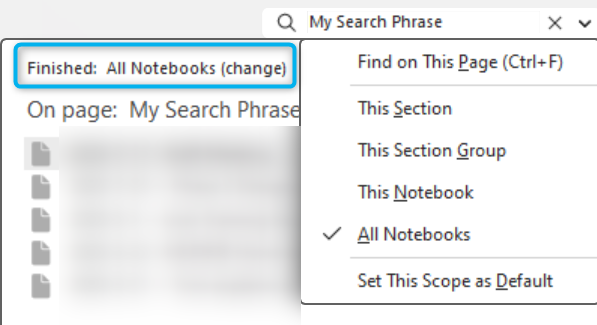
These levels are useful not only for organizing your notes but also for searching for information. When you search for a phrase in OneNote, you can filter your results by Notebook, Section Group, Section, or Page. When you use the search bar in the list of results, you can change its scope:
Templates
Using Existing Templates
Having a predefined template for your notes lets you keep them organized without putting too much time into the setup.
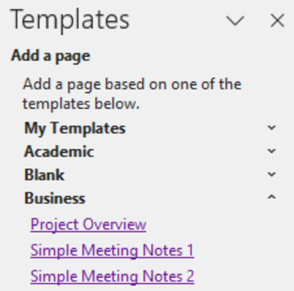
OneNote offers some prebuilt templates to add to your current section. To find these templates, go to the "Insert" tab of the OneNote Ribbon and click the "Page Templates" icon.

You'll then see a list of template categories on the right. Click on a category to expand it and click the name of the template you want to add. When taking meeting notes, I recommend using a template from the "Business" section, as it has templates set up specifically for meetings.
Once you've selected a template from OneNote's collection, you can customize it. This includes adding or removing sections, reorganizing them, and making any other tweaks that make the template more useful.
For instance, let's compare OneNote's "Simple Meeting Notes 2" template to my "Recurring Meeting Template".
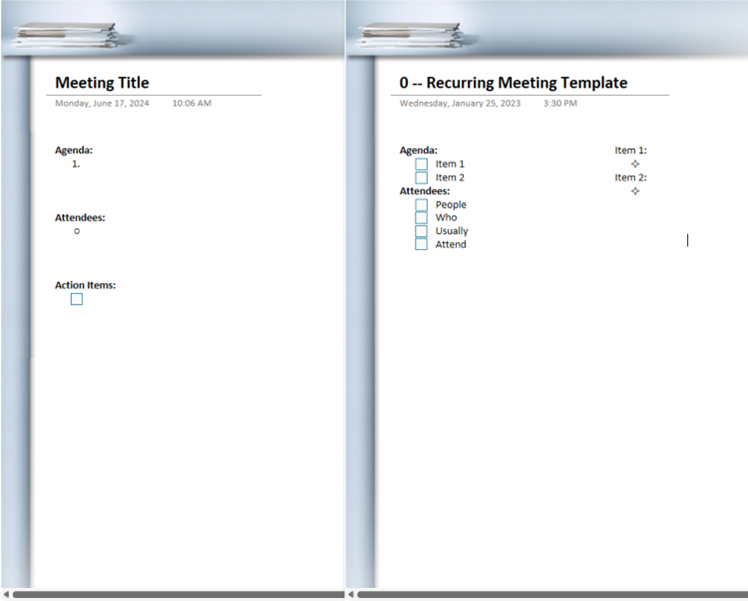
This is a template for a meeting that I know happens regularly and always has the same agenda. The meeting generally doesn't product action items, so I removed that section. I turned the Agenda and Attendees sections into checkboxes so I can check off what's done and who attended the meeting.
Since I already knew the topics, I added them to the right of the Agenda and Attendees sections and set up bullet points beneath them.
Finally, I combined the Agenda and Attendees sections into one box so that if I ever needed to change the Agenda, the Attendees would shift automatically. Now, I have a template that meets my needs and can easily duplicate it for each meeting.
Set Section Template
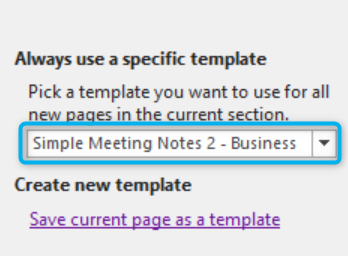
Once you have a template that works, you can set that template as the default page for the current section. That way, whenever you add a new page, it will always be your template rather than a blank page.
To set the default template, in the "Templates" pane, click the dropdown under "Always use a specific template" and choose the template you want.
Page Customizations
If OneNote's out-of-the-box templates aren't what you're looking for, you can customize your pages yourself. I've found this particularly helpful when I'm studying. If I'm learning about a new Dynamics app, I usually need a ruled page with headers that I can write my notes in. Here are some of the ways that you can customize a OneNote page:
Page Background
By default, new pages in OneNote are simply blank, white pages. To modify the background of your page, select the "View" tab of the OneNote Ribbon. The Page Setup section allows us to change the page's color and add guidelines to the background.
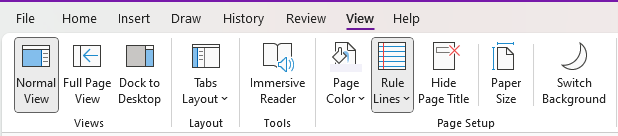
The "Page Color" dropdown offers some default colors – the colors are subdued, so if you're looking for a non-white option that isn't too distracting, these colors work well. They also change automatically, depending on whether you use OneNote's dark or light mode. However, if you want a different color for your page, click "More Colors" for more options.
To the right of the "Page Color" dropdown is "Rule Lines" – here, you can choose the page's line style, color, and whether new pages should have rule lines by default. This will apply to any section you make a page in, even in a different Notebook. However, remember the rule lines will be overridden if the current section has a default template.

In addition, each default page color has a matching line, which is slightly darker than the page color. This offers an easy way to match the page and line colors to each other.
Spacing
If you use rule lines, the text may not automatically start on the next line. To fix this, you'll want to change the paragraph spacing. Select the text you want to change, and in the "Basic Text" section on the "Home" tab, click the "Paragraph Alignment" section to the right of the text color. Then, select "Paragraph Spacing Options…"
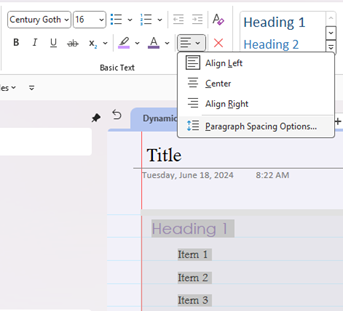
You may have to play around with the settings, but I found changing the "Before:" option worked well, as it consistently brought my text to the next line, even if the previous line was a different size from the current one.
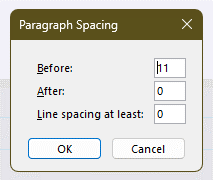
Once you're done, hit "OK" to see how the spacing has changed.
In my case, I had College-Ruled lines and set "Before" to 11 for standard text and "Before" to 5 for my headers. Whenever I started a new line, the text would be right above the rule line.
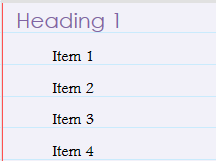
Headings and Fonts
OneNote offers some predefined Headings styles, which can be applied to text using key bindings. However, you can also set up your own headings. If you set your own headings, you'll either need to copy and paste them to the document or use the format painter to apply them to text later.
In either case, to set your headings and any other fonts you want to use in the document, find a space in the document, enter some text, and customize it. This can include changing the spacing, the color, and the font size.
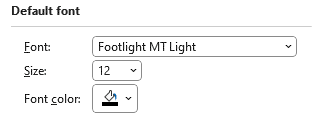
You can also change your default font, which changes the font of new text boxes you create. This is very helpful if the default font is too small or difficult to read. To customize your font, go to File > Options. In the "General" tab, under "Default font," you can change the default font family, size, and color.
Shapes and Tables
If you want to add some structure to your page, you can use shapes and tables.
To create a table, either go to the "Insert" tab, click "Table", and choose a size, or go to a line of text already on the page and hit tab. If the table is based on existing text, then a two-column table is created, with the text in the first column. If your table only has one row at the end of it, you can hit tab to add more columns. At the end of each row, hit enter to create a new row. You can also right-click the table to add rows or columns at any point.
When in a table, you can also go to the "Table" tab of the Ribbon to add or remove rows and columns, hide cell borders, set the table fill, and make other alterations.

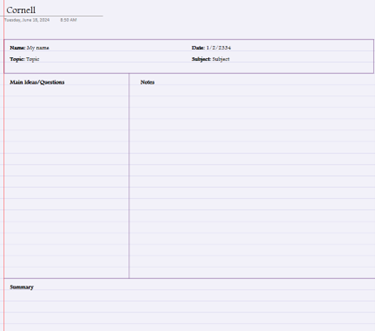
If the table doesn't work, you can also use shapes to structure your document. For instance, you can use shapes to create a note template for the Cornell notetaking method, which helps to organize and condense your notes effectively.
In the "Draw" tab of the Ribbon, use the "Drawing Tools" section to choose the outline of your shape and the "Shapes" section to choose the shape to draw.
The "Drawing Tools" section has a set of predefined "Pens" that can be added to or customized. Choose the pen you want to use, and if you want to change the line color or thickness, click the pen again.

You're given some default colors and a few patterns. However, if none of the available options are what you're looking for, you can also go to More Colors.
Once you've chosen your pen, click "Shapes". Choose the shape you want to draw and drag along the page to add it. Once you have your image drawn, in the "Draw" tab, click "Select" to stop drawing. You can then select, move, resize, and copy your drawing. You can also right-click the drawing to change its outline by selecting "Pen Properties".
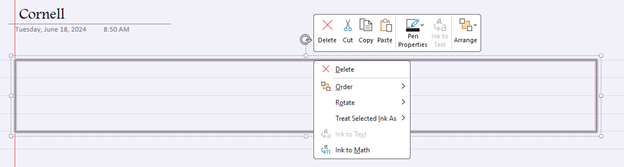
For the Cornell-style notes, I've added a rectangle with the name, date, topic, and subject. If you don't already have a textbox, create one outside of the shape and add your text. Then, drag the text to where in the box you want to see it.
The line shape can be used to divide the page. When drawing a line, hold Shift to snap the line to a certain degree – this will make it easier to keep the line horizontal or vertical. I'm going to add two lines to create my sections and add a title for each section.
Making a Template
Once you've made changes to a page, you no longer need to copy and paste it repeatedly; instead, you can turn it into a new template.
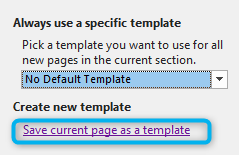
To create a new template, open the "Templates" pane. At the bottom of the pane, under "Create new template," click "Save current page as a template."
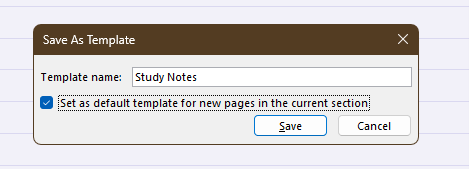
You'll then be asked to name the template and whether you want this to be the default template for the current section. If you check this option, then any time you make a new page in the section, it will essentially be a copy of the page you just created.
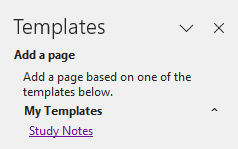
Hit save, and if this is your first time making a new template, a new section in the "Templates" pane will appear called "My Templates." You can then choose this template to add the page in any other notebook or section.
Conclusion
Taking notes is an essential part of capturing information, whether it's attending a meeting or learning a new product. OneNote allows you to customize your notes framework ahead of time, creating templates that make it easier to capture information effectively.
If your company needs assistance with processes and platforms to make your team more productive, reach out to TopLine Results. We have technical experts who can assist with business processes that leverage technology focusing on sales, marketing, and operations teams. We help organizations select and deploy platforms such as Microsoft Dynamics 365, HubSpot, and Zoho as well as many digital marketing platforms. Our priority is to understand your needs and help you select and implement the tool that is best suited to your team and budget. We can help you learn how to customize and use your IT products and platforms with a focus on best practices. We pride ourselves on being educators, so we teach our clients as much as they want to know – including tools like Microsoft OneNote. To tap into our expertise, reach out to us at info@toplineresults.com or call us at 800-880-1960.
You must be logged in to post a comment.