TopLine Dash is a great tool for reporting on many different metrics in your Act! database. You can create numerous dashboards for your queries. To help with managing your dashboard view, you can set a default dashboard to open every time you start TopLine Dash.
To set a default dashboard, follow these steps.
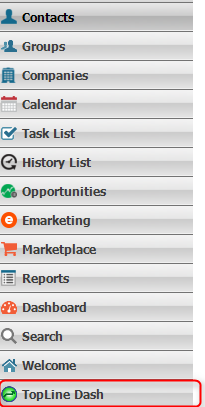
Log in to Act! and navigate to TopLine Dash.
Click on the settings icon in the toolbar. Note: this may look like a set of gears if you have TopLine Dash for Act! 2013 or previous version.

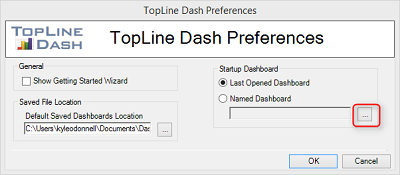
Click on the ellipsis button in the TopLine Dash preferences dialogue box which appears next.
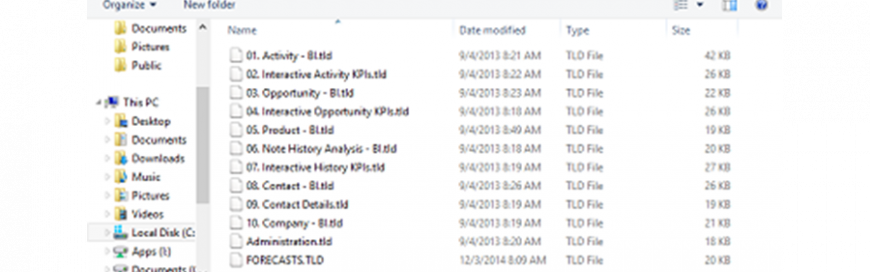
Navigate to your stored dashboards and select your default.

When you select the dashboard, you will see in the preferences screen that there will be a path to where the dashboard is stored and the “Named Dashboard” radio button will be checked. 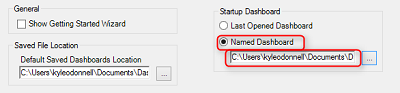
You now have selected a default dashboard. Simply close Act! and restart it to apply the changes. Now whenever you log in to Act! and TopLine Dash, your selected dashboard will be the default view.
For more tips on TopLine Results add-ons, subscribe to our YouTube channel by clicking here.
Leave a comment!
You must be logged in to post a comment.